 FileSift
Organize your screenshots in minutes.
Receipts, bugs, memes, boarding passes — they all look the same in a list of timestamps. FileSift shows each screenshot big; one keypress files or trashes it, and ⌘Z really brings it back.
Requires macOS 14 or later · Free to try · $7.99 one-time unlock
Stop the pile from growing
Two macOS settings solve tomorrow's mess before you touch today's:
Give screenshots their own folder
Press ⇧⌘5, click Options, and choose a folder under Save to. New screenshots stop landing on your Desktop and pile up in one place you can triage on your schedule.
Tidy the Desktop view
Right-click your Desktop and choose Use Stacks — everything groups by kind, so the screenshots that are already there at least stop hiding your actual work.
Then clear the backlog
Point FileSift at the pile
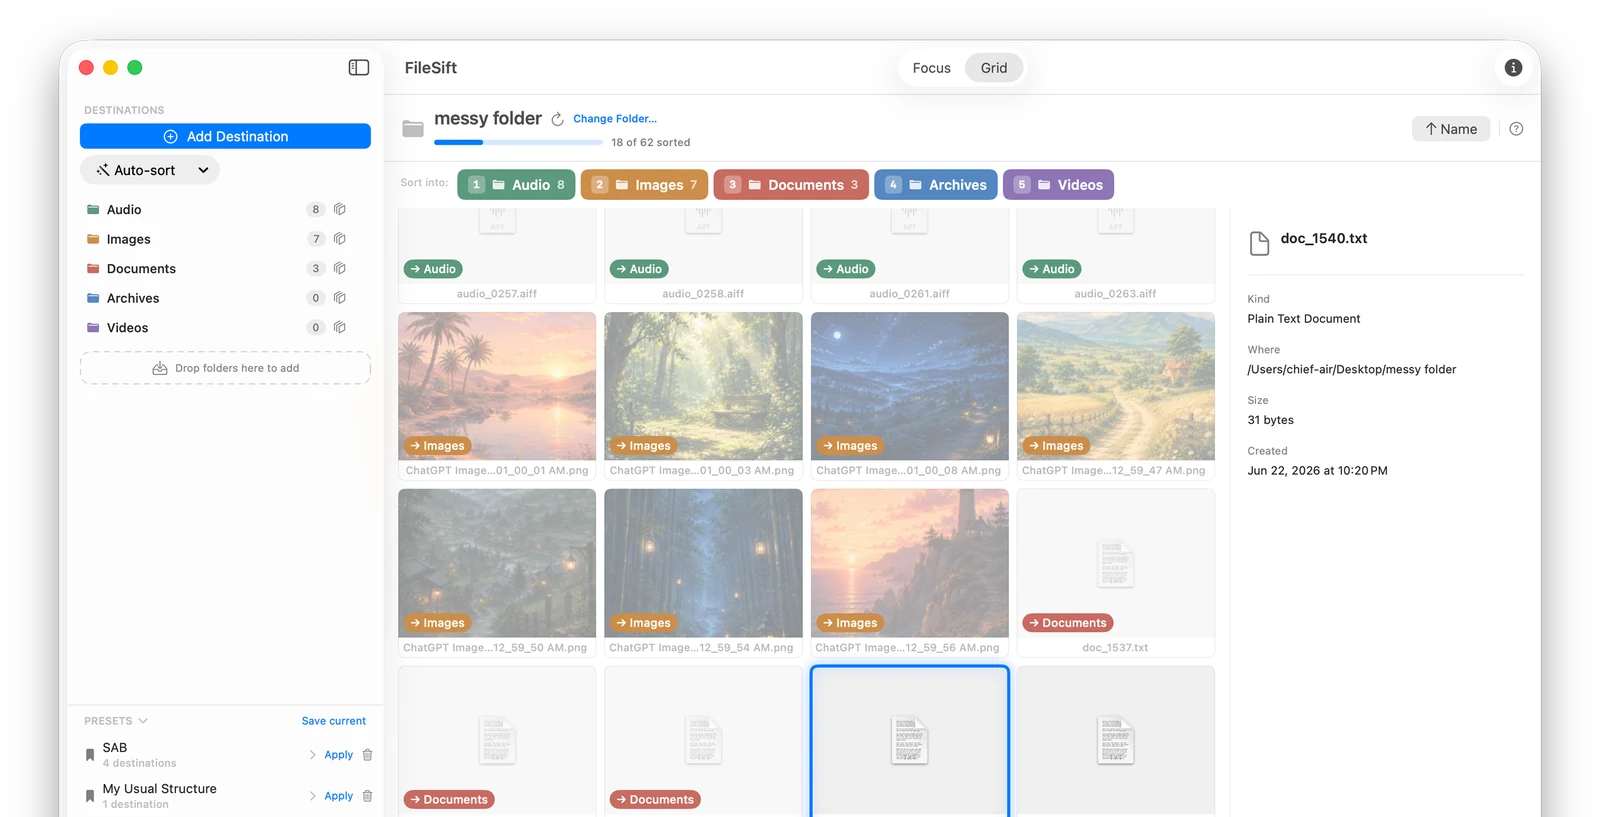
Your Desktop, the Screenshots folder, wherever they've collected. Every screenshot shows up ready to sort.
One keypress each
Each screenshot fills the screen — you can actually read it. Press a number to send it to Keep, Reference, Receipts, or the Trash. The next one's already up.
Mistakes cost nothing
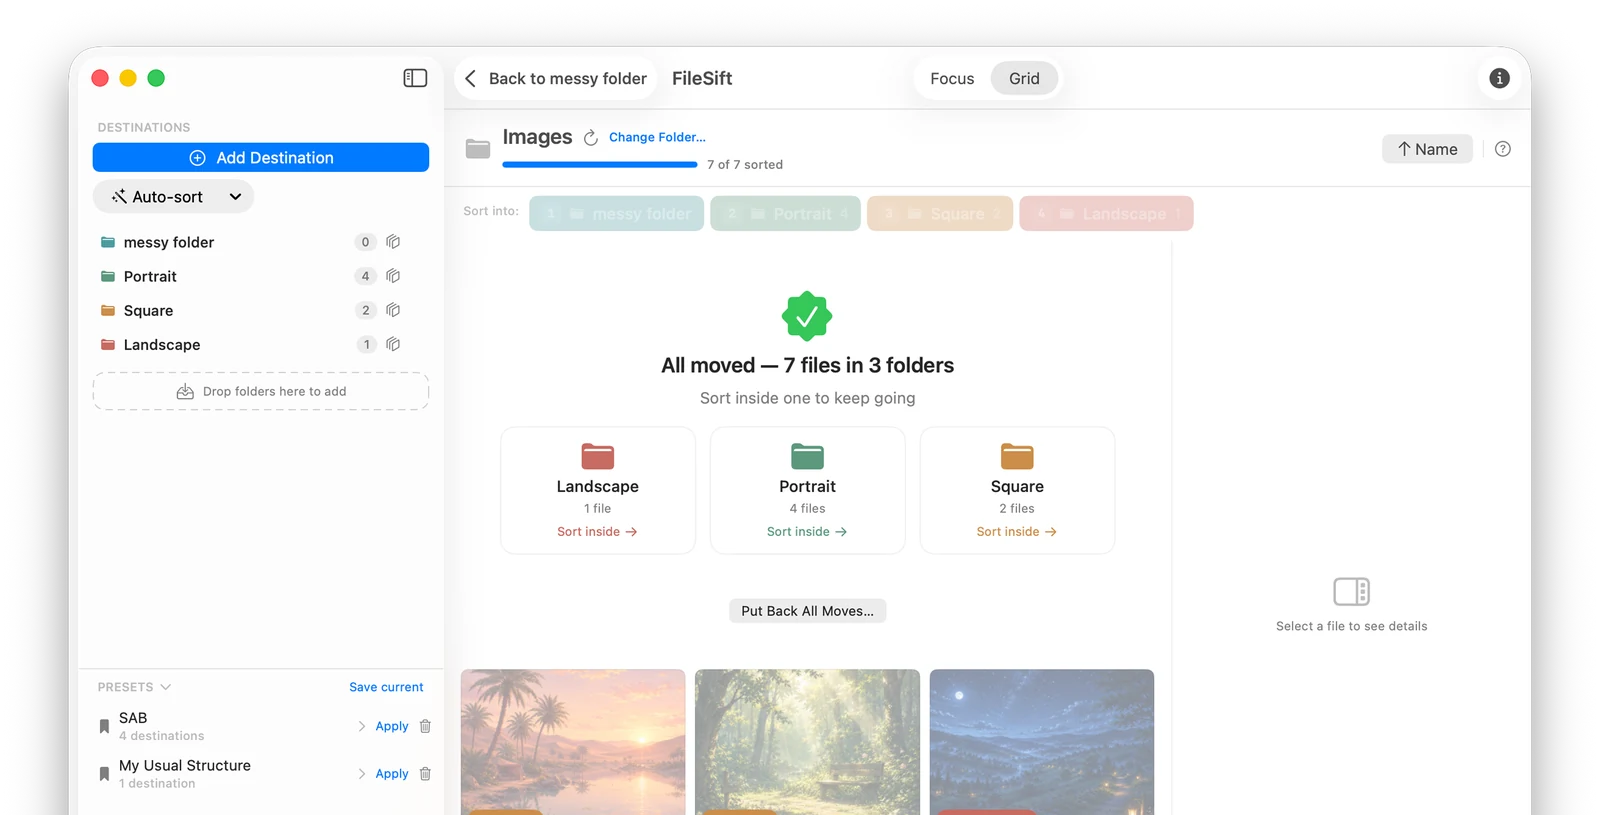
⌘Z physically moves the last screenshot back. "Put Back All Moves" reverses the whole session if you change your mind entirely.
Sweep the obvious ones in bulk
Grid view shows the whole pile as thumbnails. Draw a box around a run of stale screenshots, and one keystroke sends the lot to the Trash — the selection moves your Mac hands already know.
Every move is reversible
Sorted screenshots stay on screen, dimmed, with a marker showing where each went. Nothing vanishes silently, and any move is one ⌘Z or right-click from coming back.
Next month takes two minutes
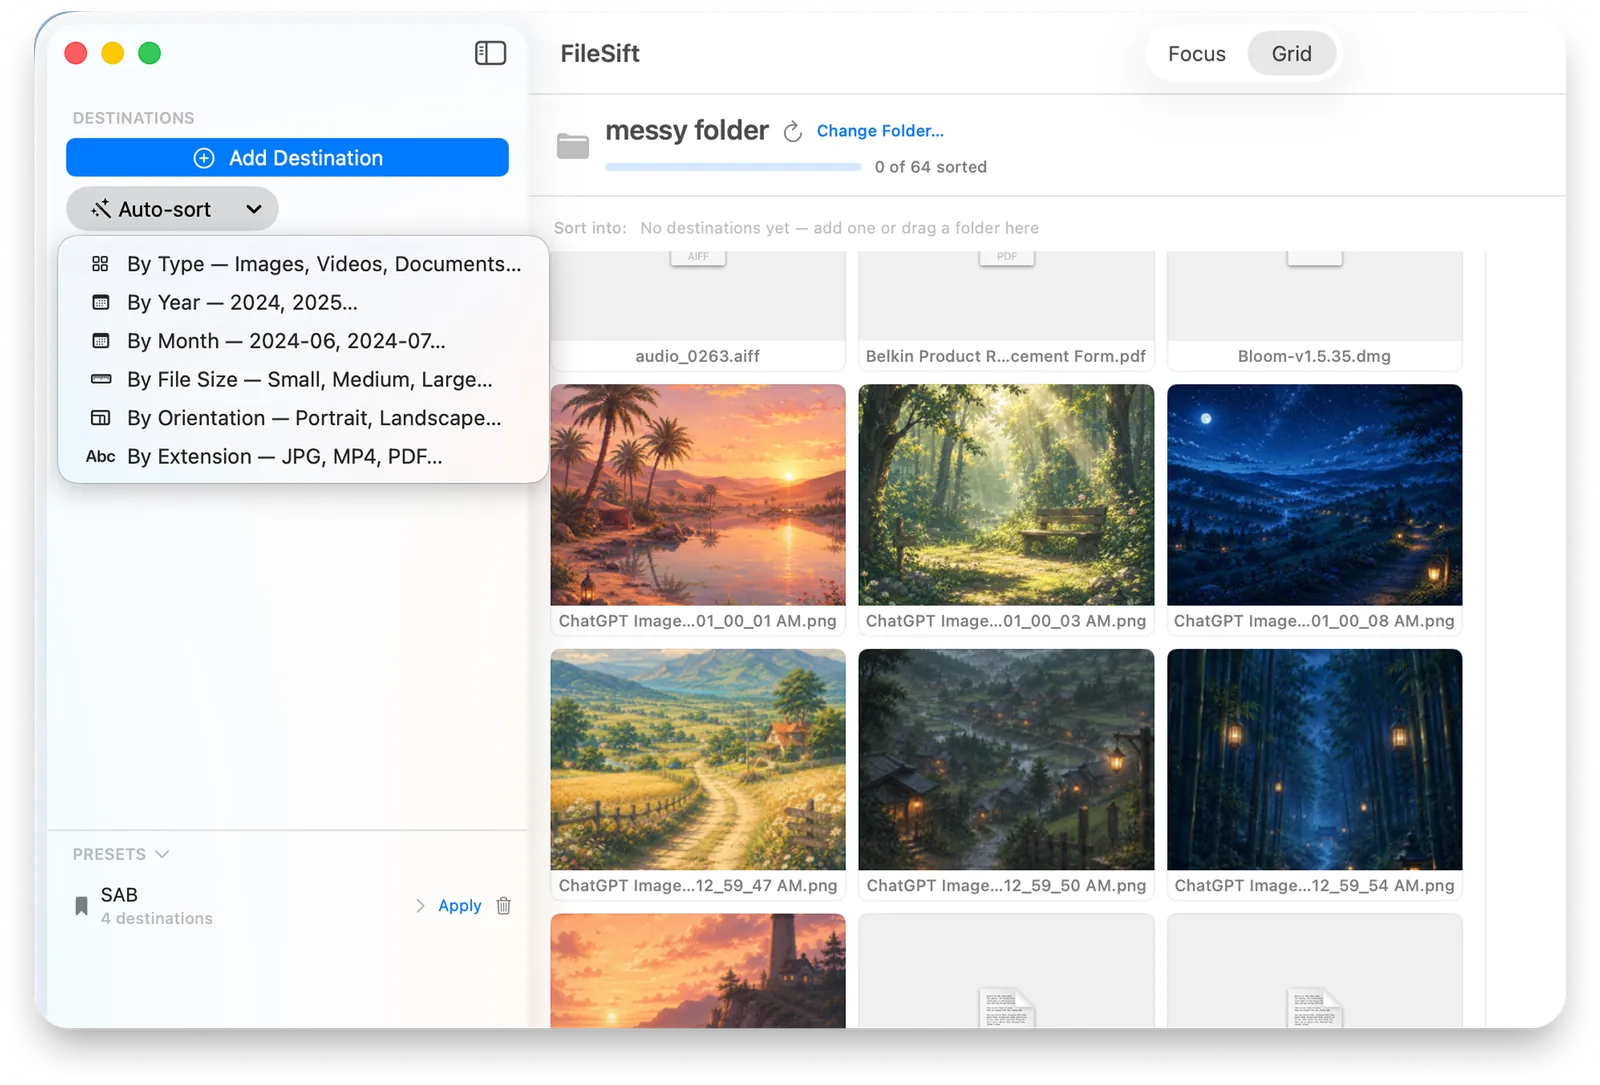
Save your screenshot destinations as a preset. When the folder fills again, apply the preset and the whole setup — folders, keys, tags — is ready to go.
Questions
How do I change where screenshots are saved on a Mac?
Press ⇧⌘5, click Options, and pick a folder under "Save to" — a dedicated Screenshots folder works well. New screenshots land there instead of on your Desktop. This stops the pile from growing; sorting the existing backlog is the other half.
What's the fastest way to sort hundreds of old screenshots?
Triage them visually. In FileSift you point at the folder, set up destinations like Keep, Reference, and Trash, and press one number key per screenshot — each one shows full size, so you can tell the receipts from the memes at a glance. A few hundred screenshots take minutes, and ⌘Z physically undoes any move.
Can I just delete all my screenshots?
Usually not safely — screenshot piles hide receipts, confirmation numbers, and reference images among the disposable ones. That's why a quick visual pass beats a bulk delete: you see each one big and make the keep-or-toss call in under a second.
Do I have to move screenshots into folders, or can I tag them?
Either. A FileSift destination can move the file, apply a macOS Finder tag in place, or both — so you can color-code screenshots where they are instead of relocating them.
See your Desktop again.
Point FileSift at the screenshot pile and clear it before your coffee's done.

Requires macOS 14 or later · Free to try · $7.99 one-time unlock